Install the Airsquitter DNSSEC patch
Required for every Airsquitter, even if yours is still online. It fixes devices that went offline after the internet’s root key change on 11 October 2026.
Written By James Dunthorne
Last updated About 20 hours ago
On 11 October 2026, the internet’s DNSSEC root key, the master key that secures the internet’s address system, was replaced worldwide. This is only the second time it has ever been changed.
Depending on your router, its firmware and your internet provider, this change can stop your Airsquitter from connecting to 4DSKY. Every Airsquitter needs this patch, even if yours is still online.
Your Airsquitter needs the new key to reach the update server, so the fix can’t be installed automatically. You’ll need to install it yourself, using a computer on the same network as your Airsquitter.
Step 1: Download the patch
Download the patch file to your computer:
https://jetvision.de/download/patch-rcd-asq-0004.ddeb
Step 2: Open your Airsquitter’s interface
Type your Airsquitter’s IP address into your browser’s address bar. You can find this by pressing the black button on the front of your Airsquitter until you see a number that looks something like: 192.168.1.001.
You can also find this address in your router’s list of connected devices.
Step 3: Upload and install the patch
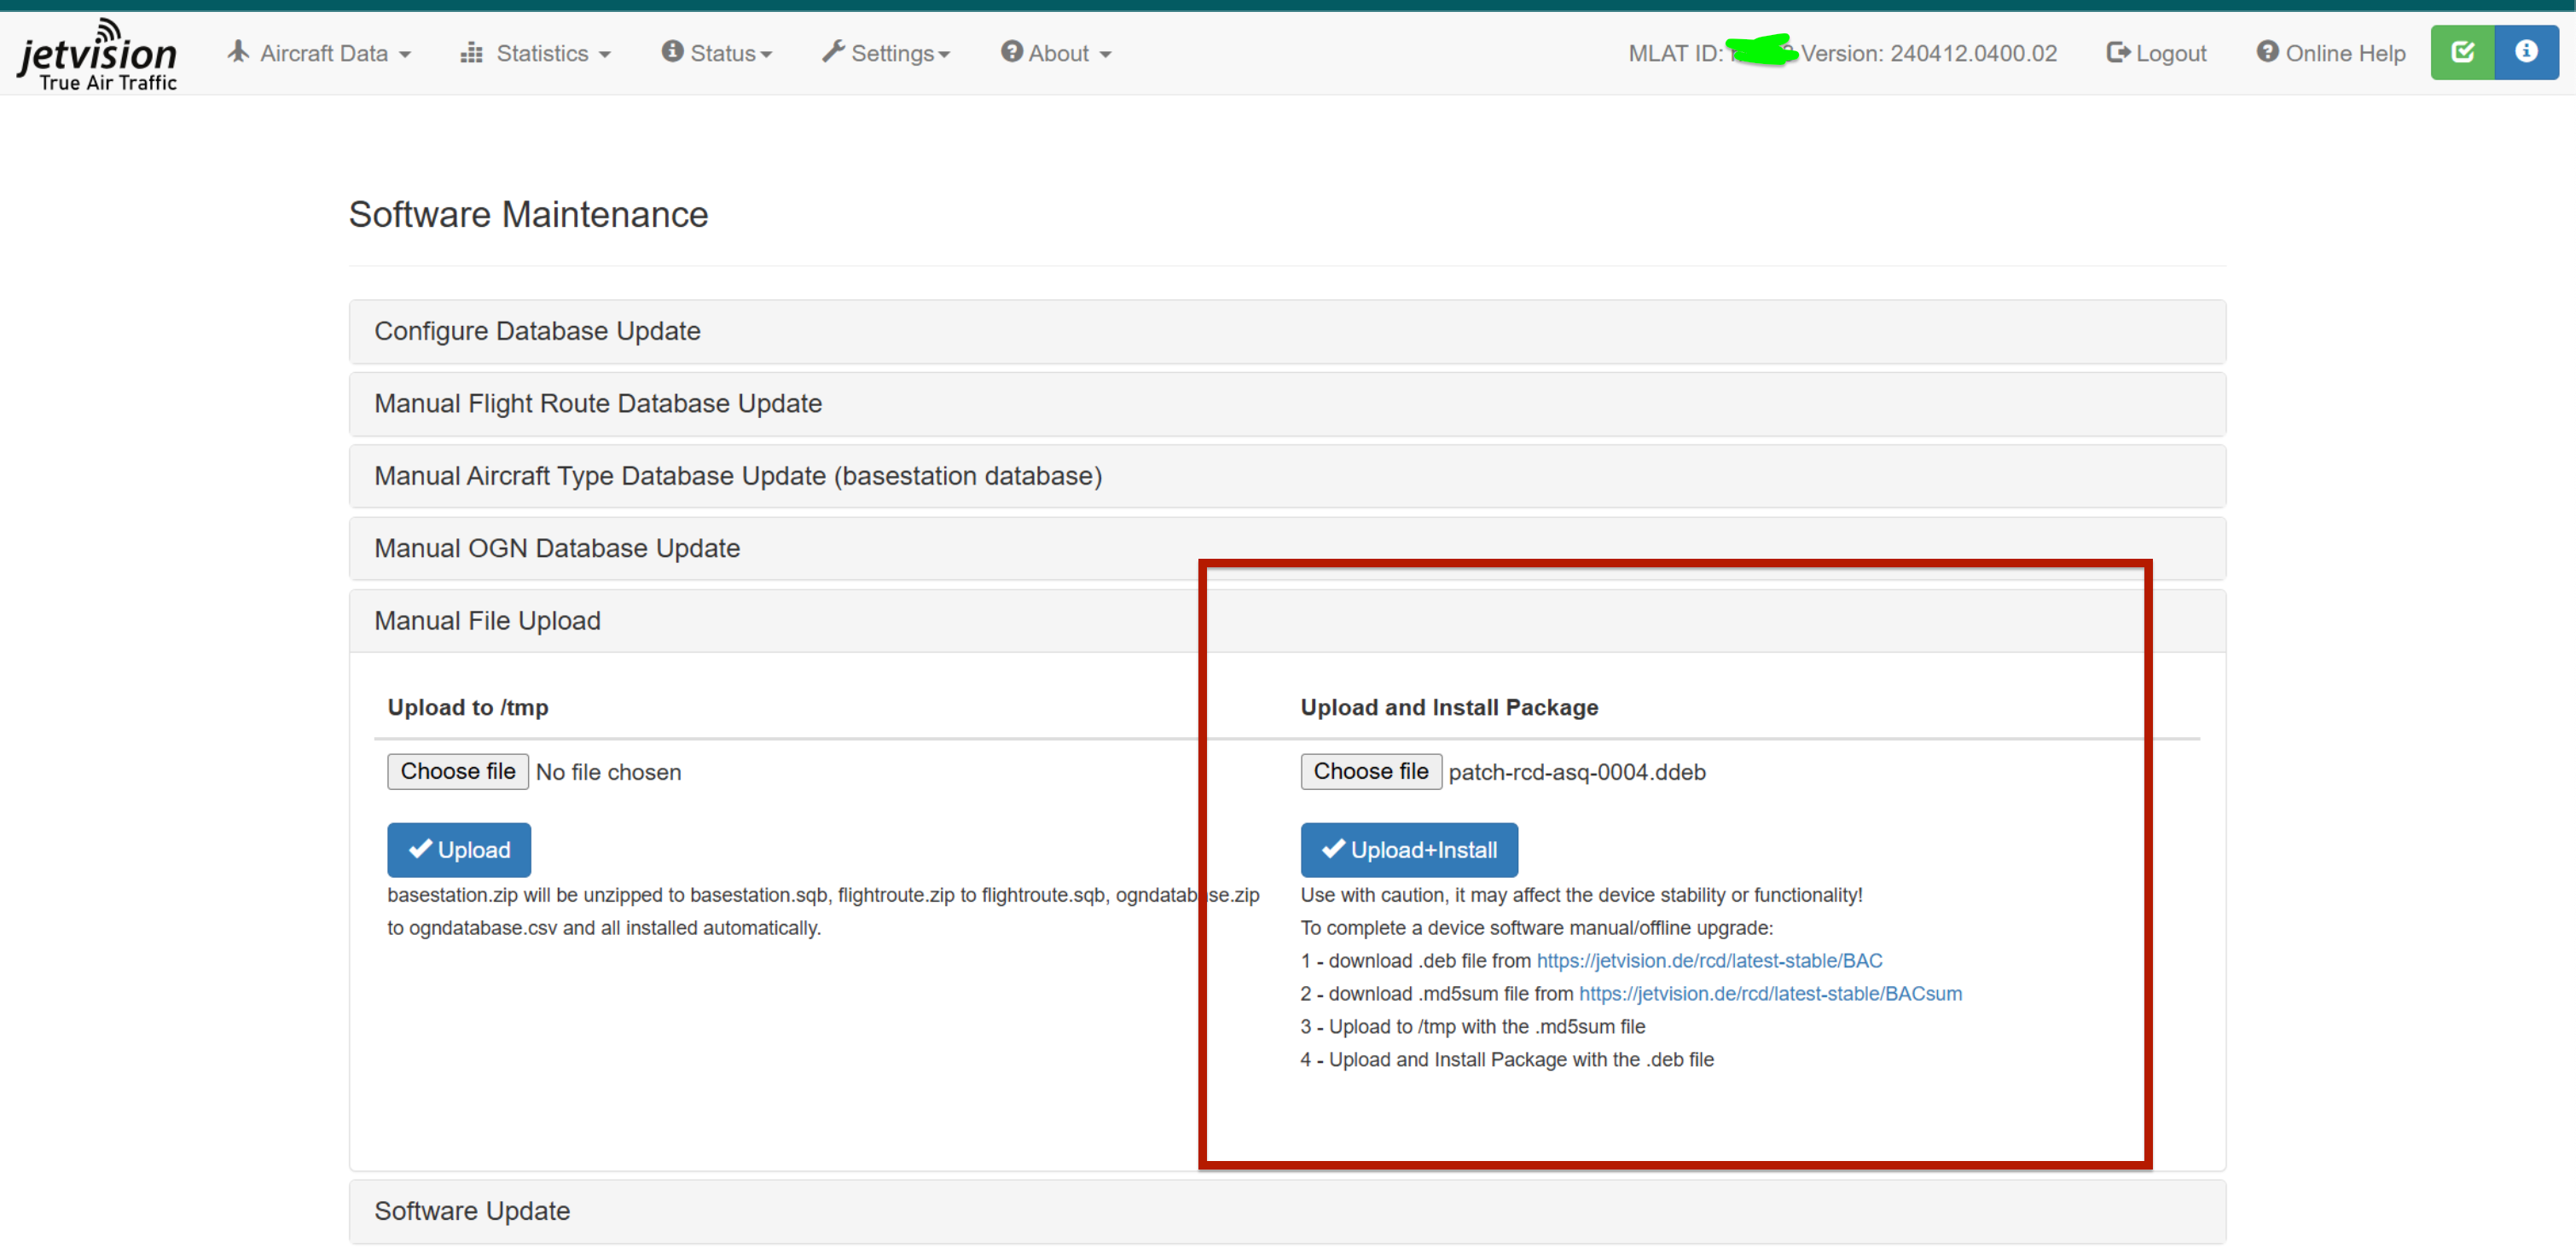
Go to Settings → Software Maintenance → Manual File Upload.
On the right hand side of the screen, click Choose file and select the
.ddebfile you downloaded.Click Upload+Install.
Step 4: Wait for the installation to finish
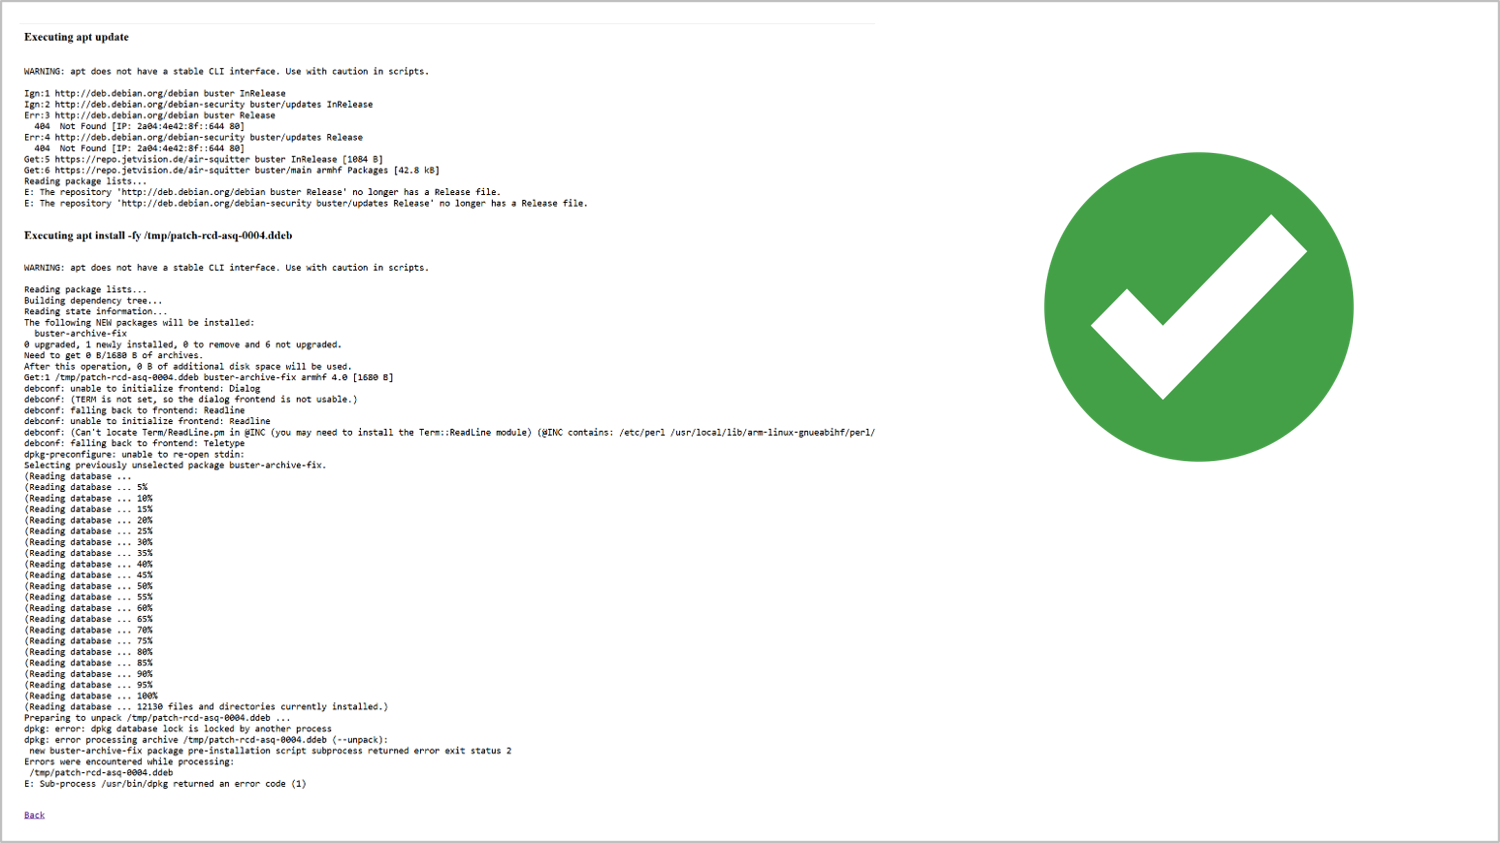
You’ll see a long stream of technical output, possibly including some error messages. This is normal, so leave the page open until it finishes.
When the installation is complete, a Back button appears at the bottom of the page. Your Airsquitter should now be working again, and you can click Back to return to the main interface.
Troubleshooting: the installation didn’t start
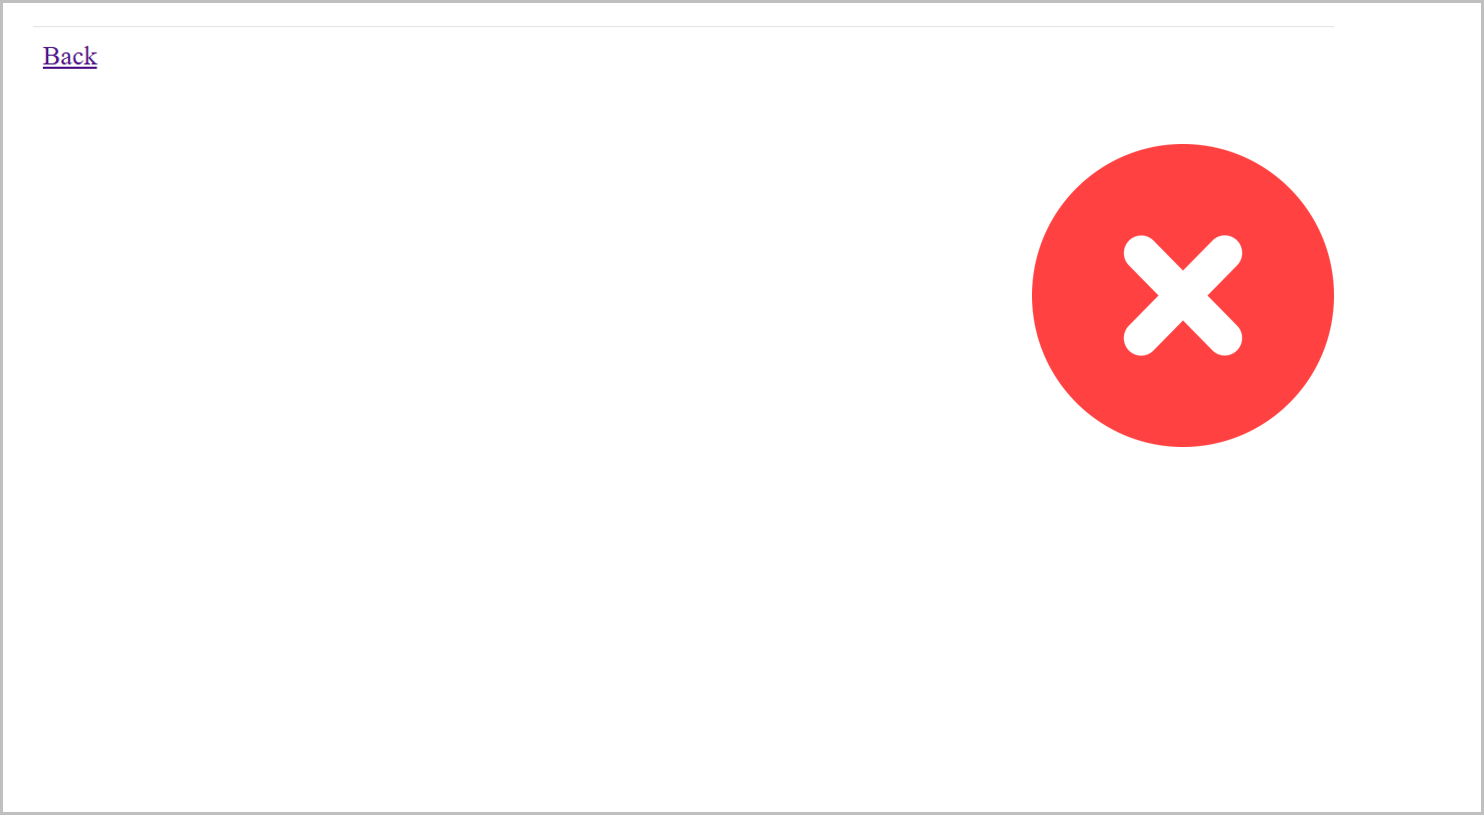
If you see a blank screen with only Back in the top-left corner after clicking Upload+Install, and none of the installation output shown above, the installation didn’t run.
To fix it:
Rename the downloaded file from
patch-rcd-asq-0004.ddebtopatch-rcd-asq-0004.deb, changing the file extension from.ddebto.deb.Repeat Step 3, selecting the renamed
.debfile.You should now see the installation output. When the Back button appears, the installation is complete.
Can’t see the file extension? Your computer may be hiding it.
On Windows, open File Explorer and turn on View → Show → File name extensions.
On a Mac, open Finder, go to Settings → Advanced and tick Show all filename extensions. If your Mac asks you to confirm the change, choose Use .deb.
Was this helpful?
Still need help? Ask the team